How to Add Your Logo to Anything | Logo Mock Up Tutorial
When designing logo it is very essential for us to put the logo against different backgrounds and check how the logo will look in a "real life scenario". Plus having a logo mock up is always going to impress your client and make your presentation looks beautiful and professional.
Today we are going to teach how to make a logo mock up using one very useful tool in Photoshop: Vanish Point.

Here online we found a picture with a man wearing a white T-shirt. It will be nice to put our logo on this white t-shirt and see how it will look like. Let's open Photoshop -> open the picture -> Ctrl+J to copy the layer (in case we mess up).
Now first we will need to remove the existing logo. We will use the Fill tool to remove the existing logo for the shirt. If you don't know how to use the Fill tool, check out our last tutorial about removing any object from a picture.

After the fill we will need to clean it up a bit to make the shirt look more natural. Use the Clone Stamp tool to clean up the imperfection.

Now we can start working on pasting out logo. First you will need to go to your logo file, select your logo and select Edit -> copy (or use shortcut Ctrl+C). Make sure your logo is transparent otherwise we will be copying the background colour into the shirt as well.
Back to your image, select Filter -> Vanish Point, and use the "create plane tool" to draw a square of where you want to put the logo in. Imagine this as the 3D surface you are going to paste your picture/logo in. Make sure the plane box is blue in colour.
Now you will press Ctrl+T and paste the logo in the picture. Here I am just using a template random logo. Click T to adjust the size of the logo, and drag the logo into the box. When you think it looks good you can press "Enter" to exist the Vanish Point tool.
Now the picture is completed. This way the logo will look more realistic compare to if you just paste the logo directly on top of the shirt. You might also add some texture or shadows in the logo to make it even more realistic. But now we will move on to another example.

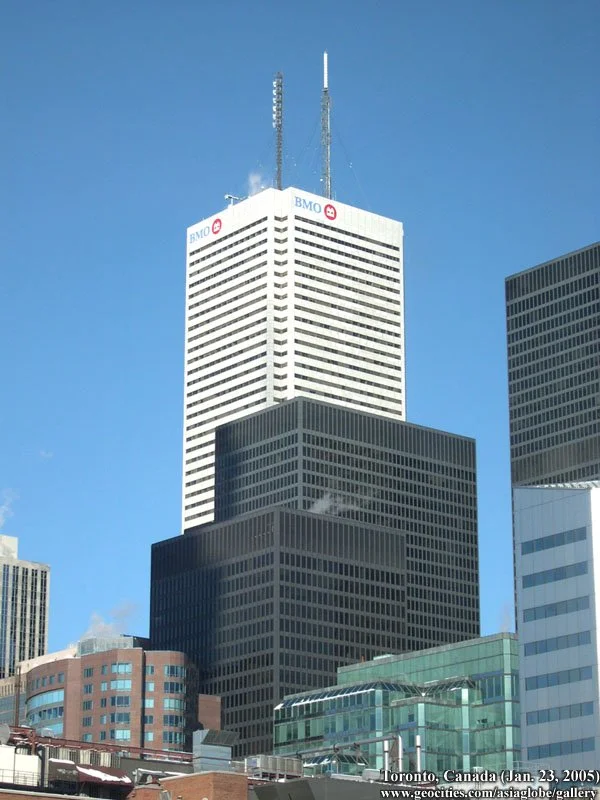
Now I have a building picture and I want to paste my logo on top of the building. Let's look at some more advanced use of the Vanish Point.
Same as before. Let's first copy our logo. Then open the picture we want. Duplicate a layer -> select Filter -> Vanish Point, and draw the box for the building.
Now I want the logo to extent to not only the right side of the building but also the left side as well. I will hold on Ctrl button, and drag a point of the box to the left side. Adjust the box so that it is blue colour.
Now similar like before, paste the logo -> Press "T" to adjust the size -> drag the logo into the box and adjust it to the right position you want.
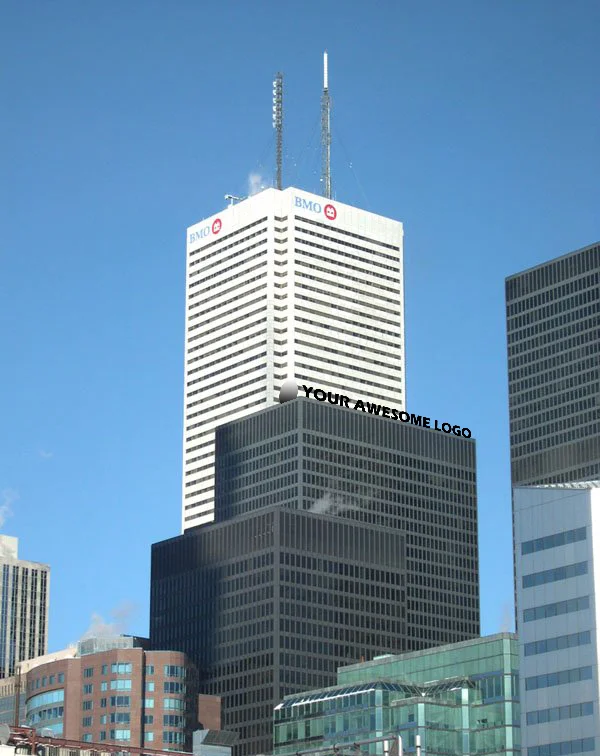
Now you have a logo mock up on the top of the building. Of course we will need to do more filters add to the logo and make it look more realistic. But this tutorial will end here and you can try put your logo onto different objects.