How to remove any objects from a photo | Photoshop Tutorial
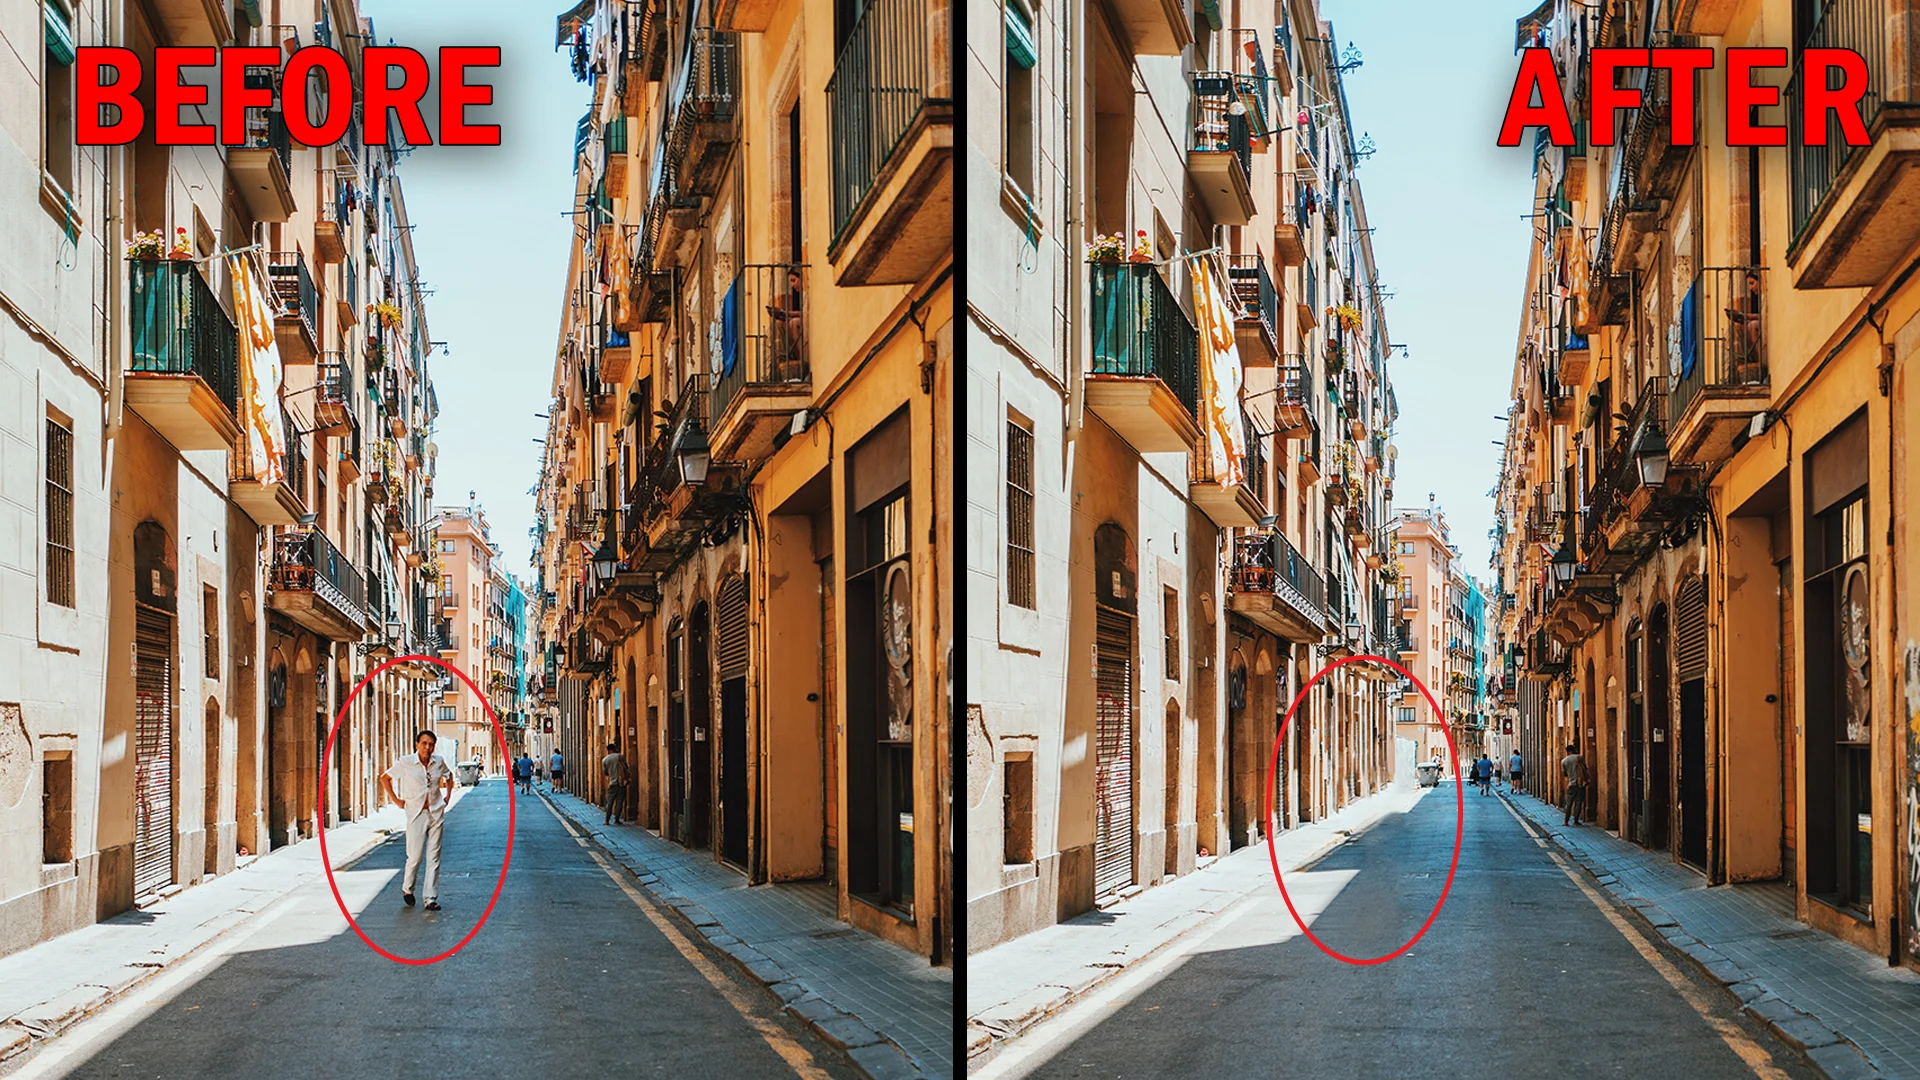
Some times after we take a wonderful photo and only found that there are some unwanted objects in the photo. Thanks to Photoshop we now can remove the objects and make our photo Instagram worthy!!
Transform Your Photos: Remove Unwanted Objects with Photoshop
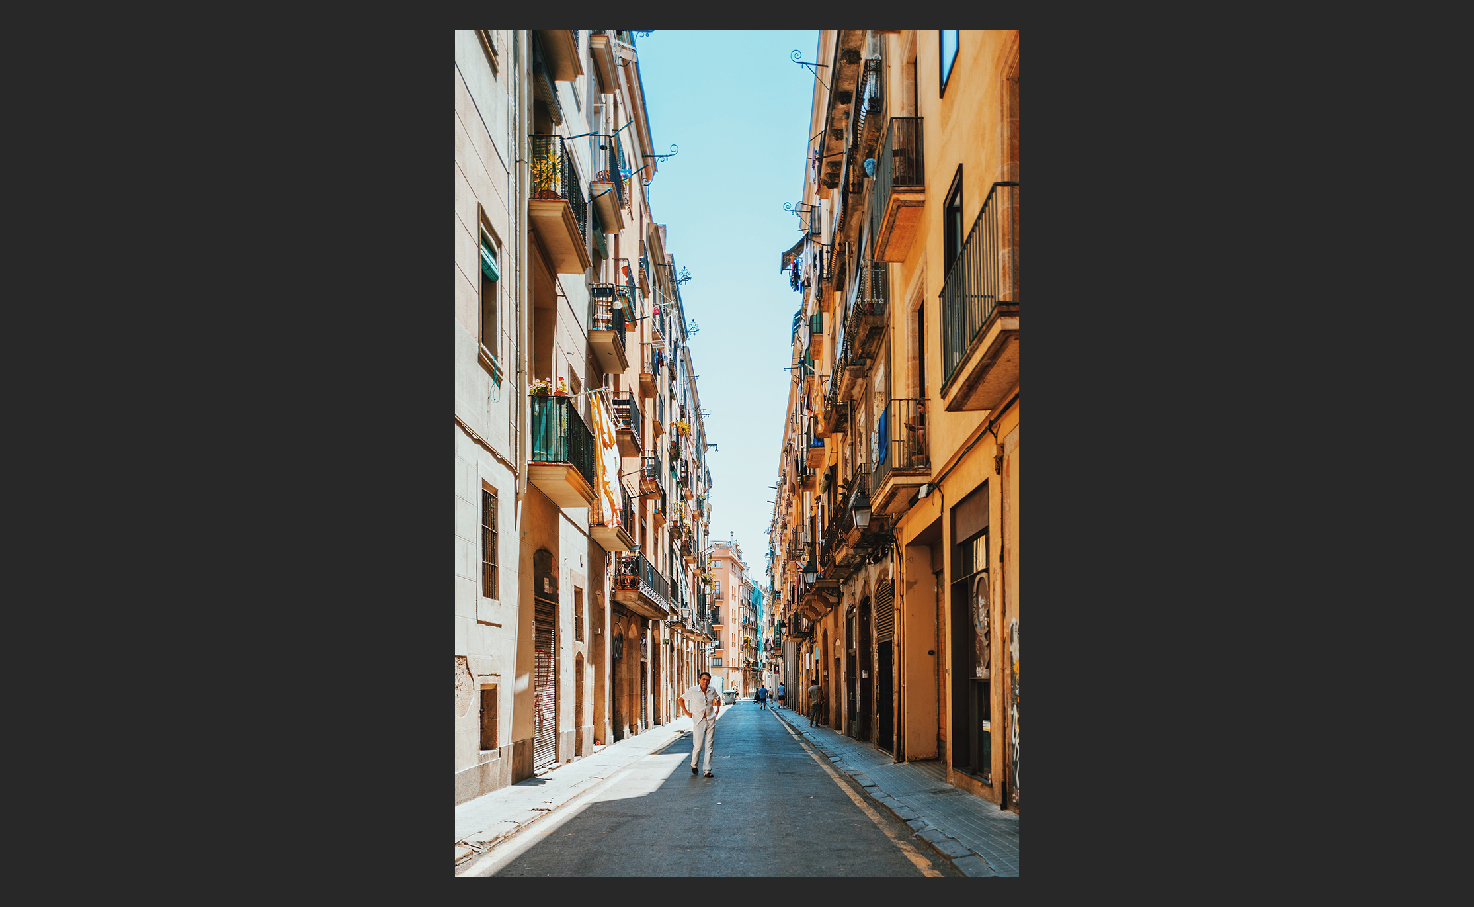
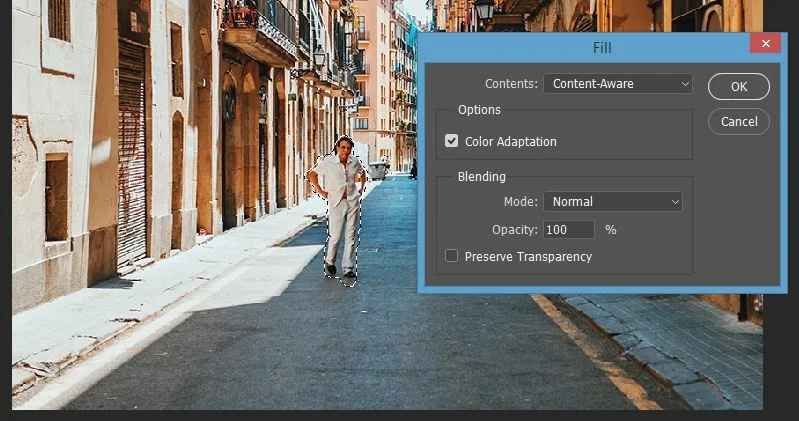
First we need to open the photo in Photoshop. That man in the middle of the street is really blocking what we need to see. So let's remove him.
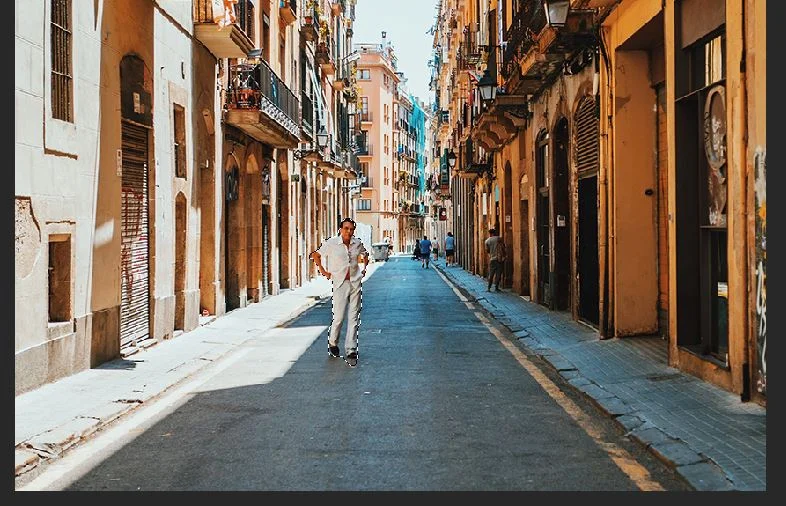
We can right click on the layer, and select "duplicate layer" to create a new layer (or you can use the shortcut key Ctrl+J). Now we need to use quick selection tool (shortcut W) to select the person. It does not need to be super accurate. Just rough selection. Make sure you have gotten the entire person in selection.
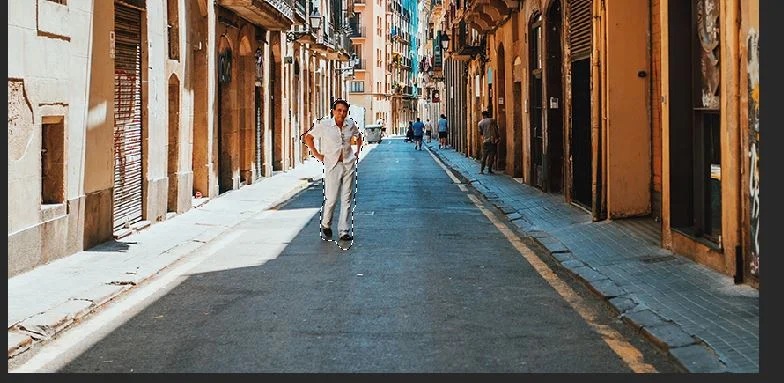
Next we will click on "select" -> "modify" -> "expand" and expand our selection area slightly. In this picture I used 2px. Some photos might be very large so you will need to expend more. A general idea is to just expand the selection area slightly bigger than the object we need to remove.
You can see the selection area is slightly larger than the person now.
Now with your Quick Selection tool still active, right click anywhere and select "Fill" (or you can go to "Edit" -> "Fill"). You will see a window. Make sure in the Content section you have select "Content-Aware", and click ok.
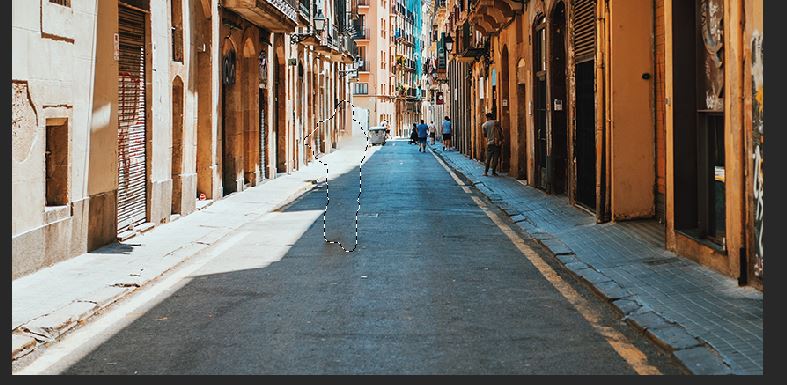
Let the software does it's magic, and the person disappeared!!! Now right click on your mouse and select "Deselect" (or Ctrl+D). Now you are about 90% done.
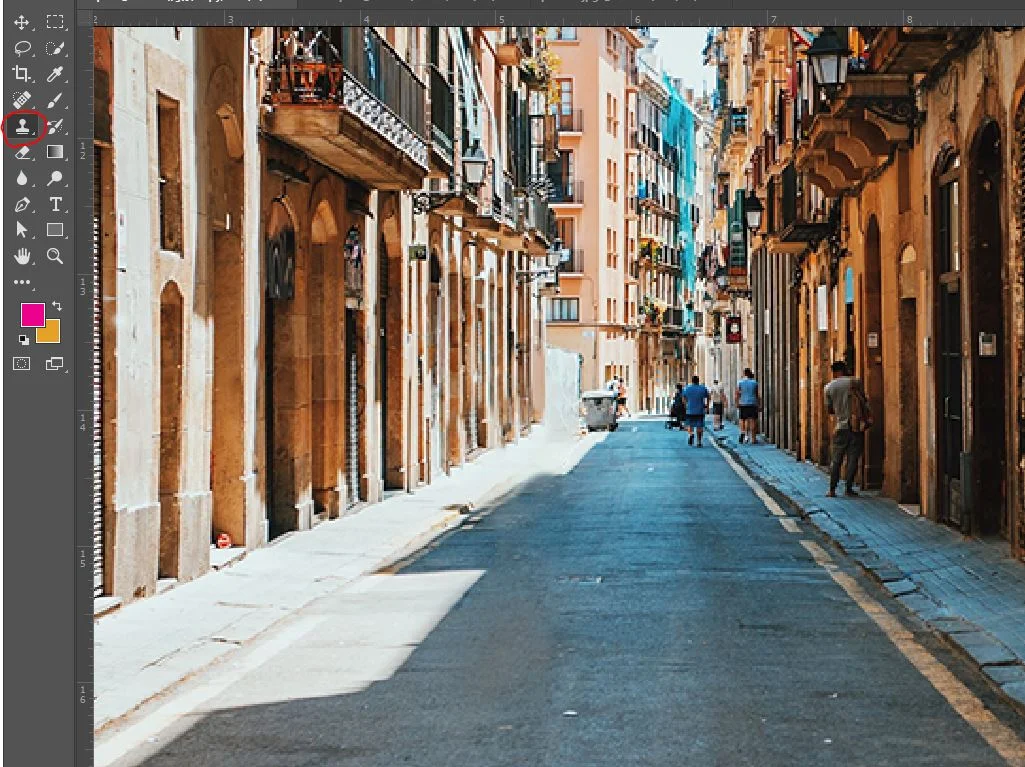
If the background is plain, you probably don't even need to do any clean up and can save the picture right away. But since this photo has a more complicated background, we will need to do some clean up. Select the Clone Stamp Tool.
We will use Clone Stamp Tool to select similar colour and feature and "clone" it to any un-natural area. By holding "alt" to select an anchor point first, then just need to paint the colour. We could also use the "Spot Healing Brush Tool" (located just above Clone stamp tool) to get rid of some spot.

